Hi, I'm Meredith!
Helping you celebrate every day colorfully. My mission? To make party-throwing a piece of cake!
party Planning
balloons
holiday
popular posts
party shop
How To Make A DIY Boxwood Backdrop That Will Surely Stand Out!
Published on June 29, 2016 | Last Updated on December 1, 2021
UPDATE 4/18/18
I get a lot of questions about this post and how much it cost to make your own boxwood backdrop. Overall the project was about $400 including all the silk flowers. Keep in mind silk flowers are more expensive than real ones! Here’s the more affordable option. This will save about $100 and if you don’t plan to add flowers, you’ll save another $75-100 as well! Dollar General is a great source for affordable silk flowers if you do want to add them.
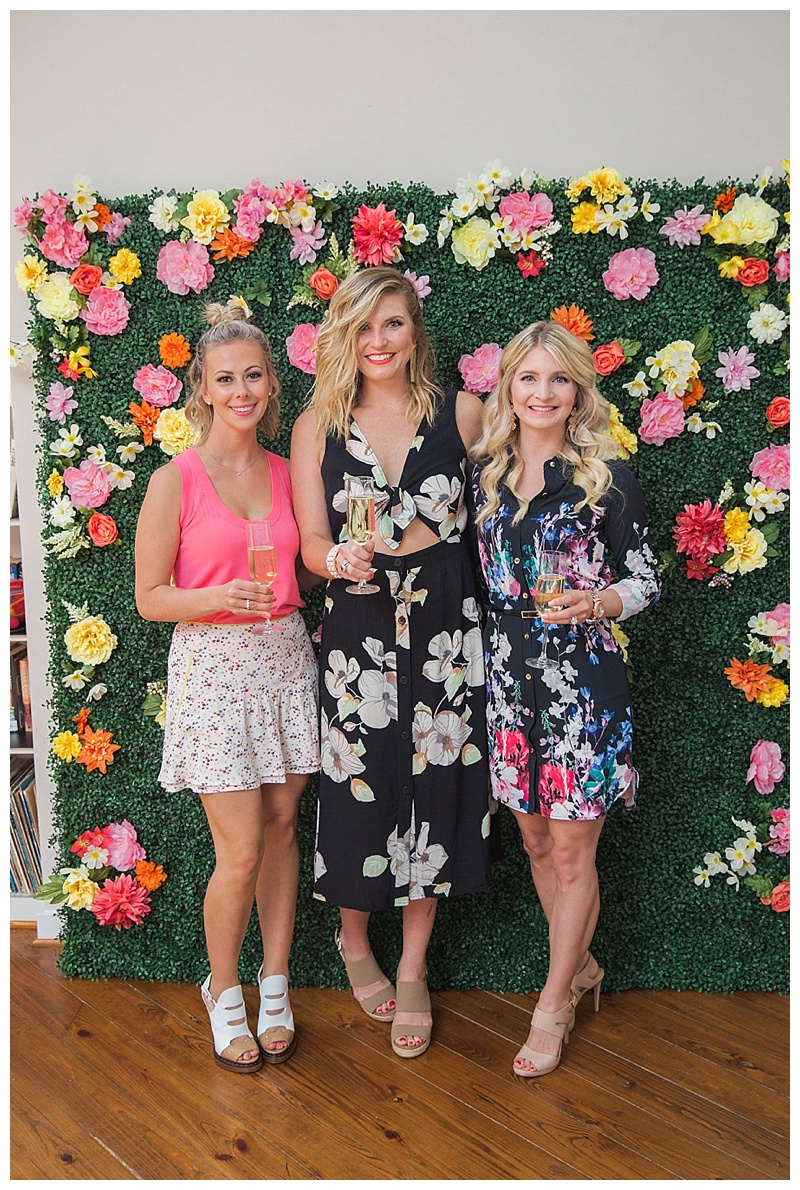
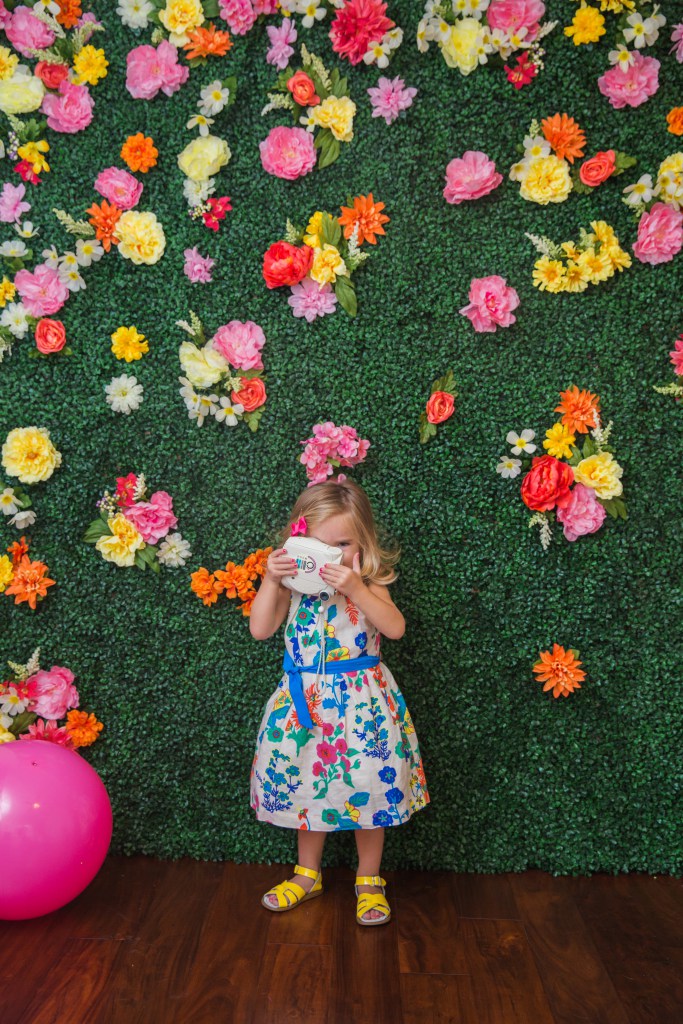
Last spring I created a live greenery and flower wall for the HOUSTON Magazine’s 10th anniversary party and since then I’ve wanted to make something similar. So when my friend, Ailee sent me a similar photo as inspiration for her daughter’s party, I knew it was the perfect excuse to finally make one!
The boxwood backdrop made its debut at Isla’s Tea for Two party, then at our Aces of Taste High Tea and a Sugar & Cloth shoot that will go live soon. Needless to say in a few short weeks I’ve become a crazy traveling backdrop lady! I’m not looking to get into the event rental business by any means so I wanted to share the basic steps if you’d like to recreate something similar for an upcoming party! Personally I’d like to have it be a permanent fixture on our patio but Trent disagrees.. ha!
This project is definitely an investment because of it’s size but I think a smaller version would make the perfect backdrop for a food or drink display at a springtime shower, wedding, etc!
Materials Needed for your DIY Boxwood Backdrop:
Four artificial boxwood panels (40×40 inches each)
3-pack of brass hinges
1/4 inch plywood cut into two pieces 40×80 inches
Electric screwdriver
Staple gun
Assorted flowers (real or artificial)
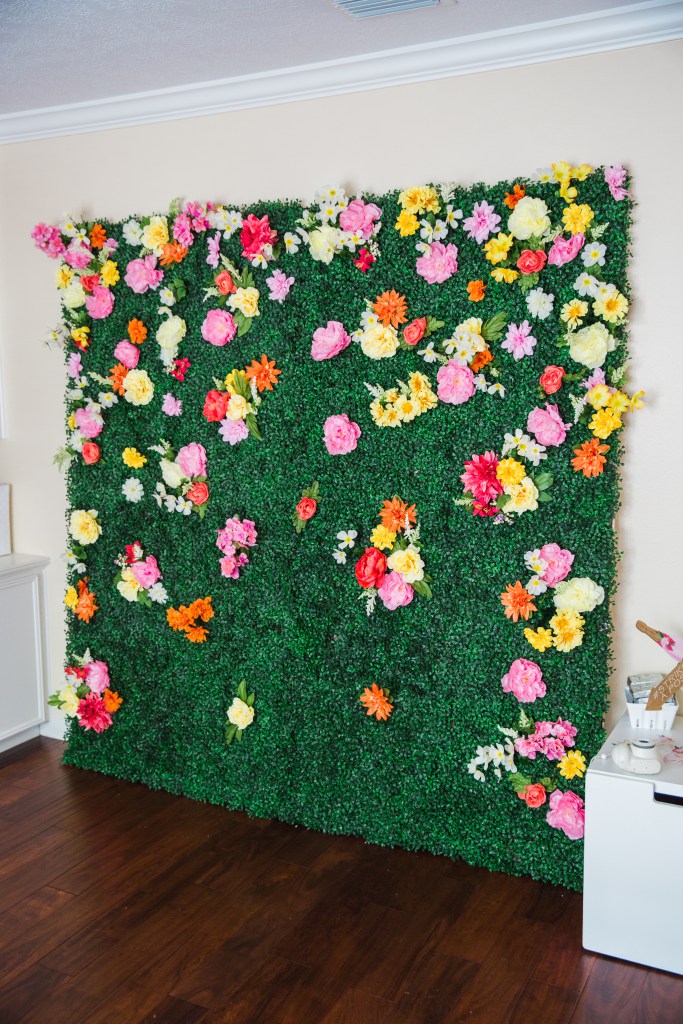
I had the wood cut at the hardware store to match the boxwood panels but if you want to customize the size, you can cut down the boxwood panels and adjust the size of the plywood accordingly. I had two pieces of wood cut both 6.5 feet by 4 feet so all together the wall is 6.5 feet by 8 feet wide.
Secure the boxwood panels to the plywood by stapling the border every 6-8 inches. Two boxwood panels will fit on each wood piece.
Once the boxwood panels are attached, lay both plywood pieces boxwood side down about 1/4 inch a part. Secure the three hinges using the included screws evenly along the top, middle and bottom. Now that the two pieces are connected, it will fold in half to easily transport and store.
You’ll need someone to help flip your boxwood backdrop over, boxwood facing up to attach the flowers. I used artificial but you could use real or paper flowers! I cut down the stems to 2-3 inches and stuck them into the backing of the boxwood then stapled the stem in place.
Top two and bottom photos by Ailee Petrovic and the rest by my #instagramhusband! 😉


