Hi, I'm Meredith!
Helping you celebrate every day colorfully. My mission? To make party-throwing a piece of cake!
party Planning
balloons
holiday
popular posts
party shop
How To Make The Perfect Brunch Grazing Board
Published on April 29, 2019 | Last Updated on January 18, 2022
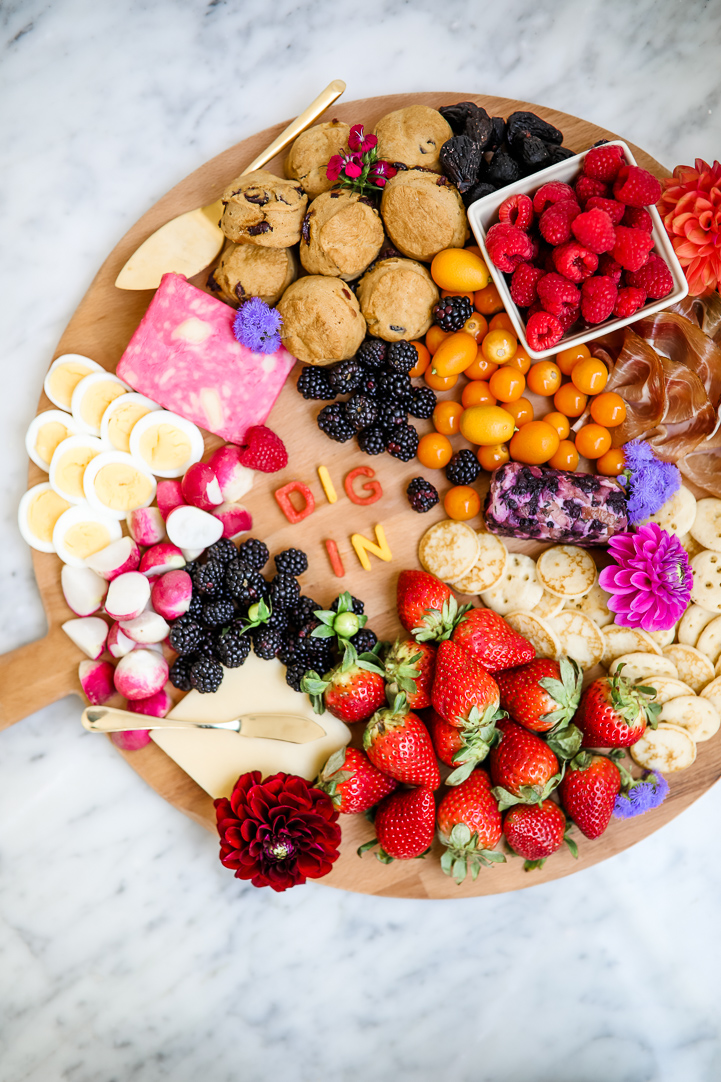
I asked my friend Marla from The Blonde Pantry to create a couple of grazing boards for Piper’s party in December. Since then, several people have asked how to recreate something similar at home. We teamed up to break it down step by step. Cheese boards, charcuterie boards and grazing boards are all similar but I how much variety the term grazing board allows. You have as much freedom as you’d like to create something beautiful for your guests.
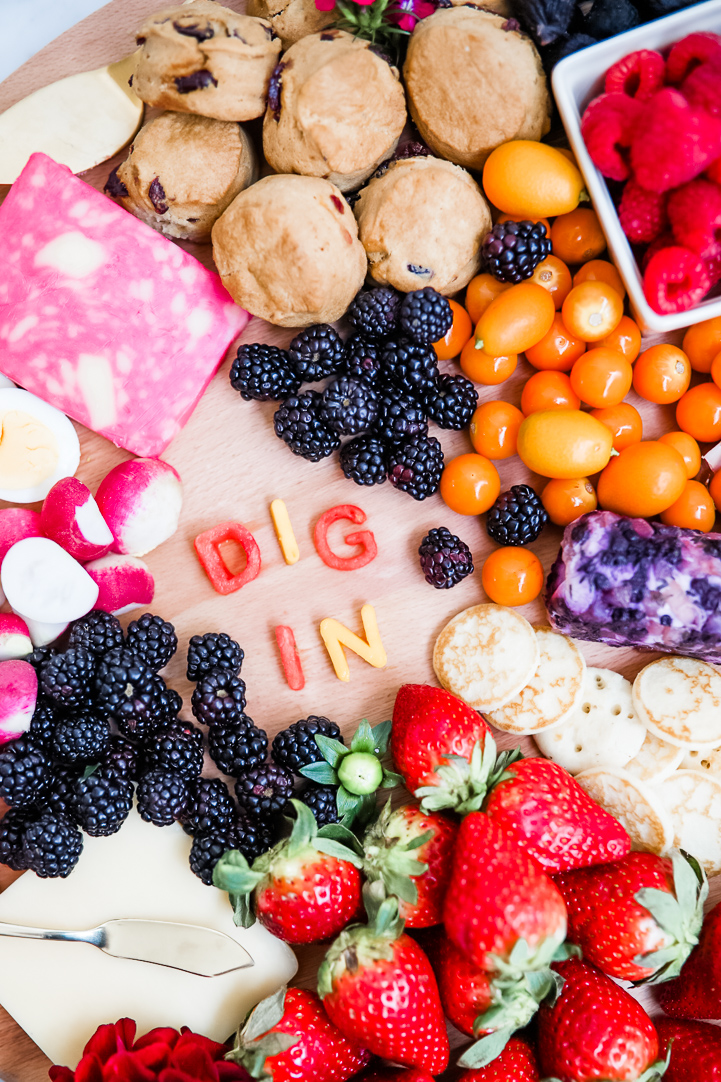
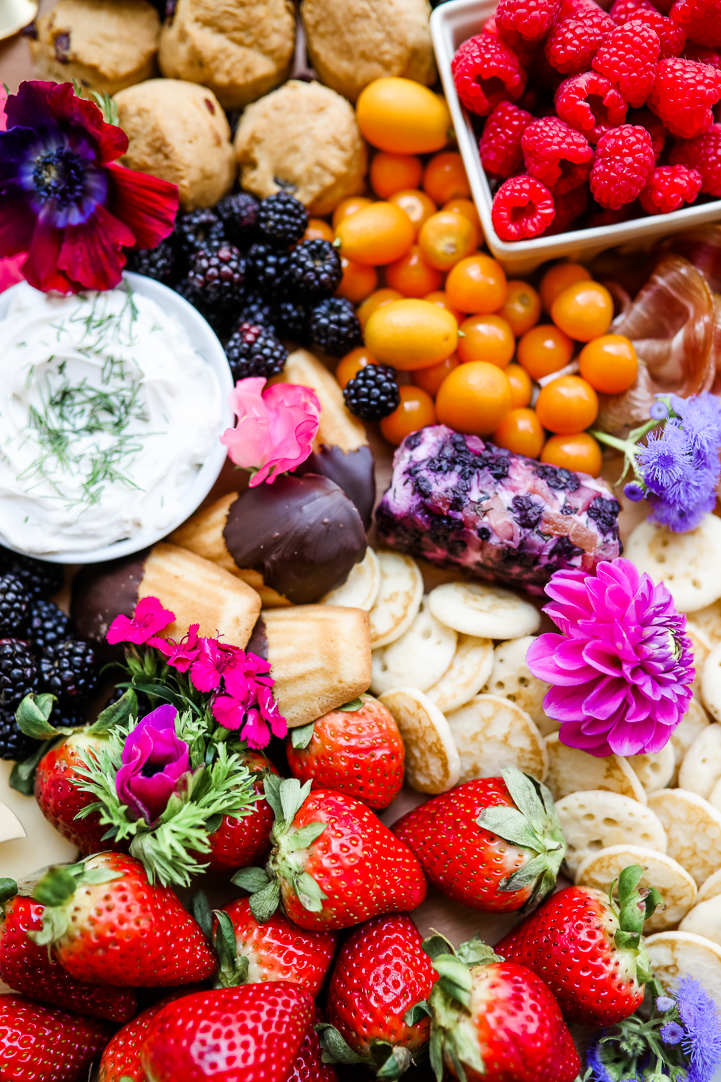
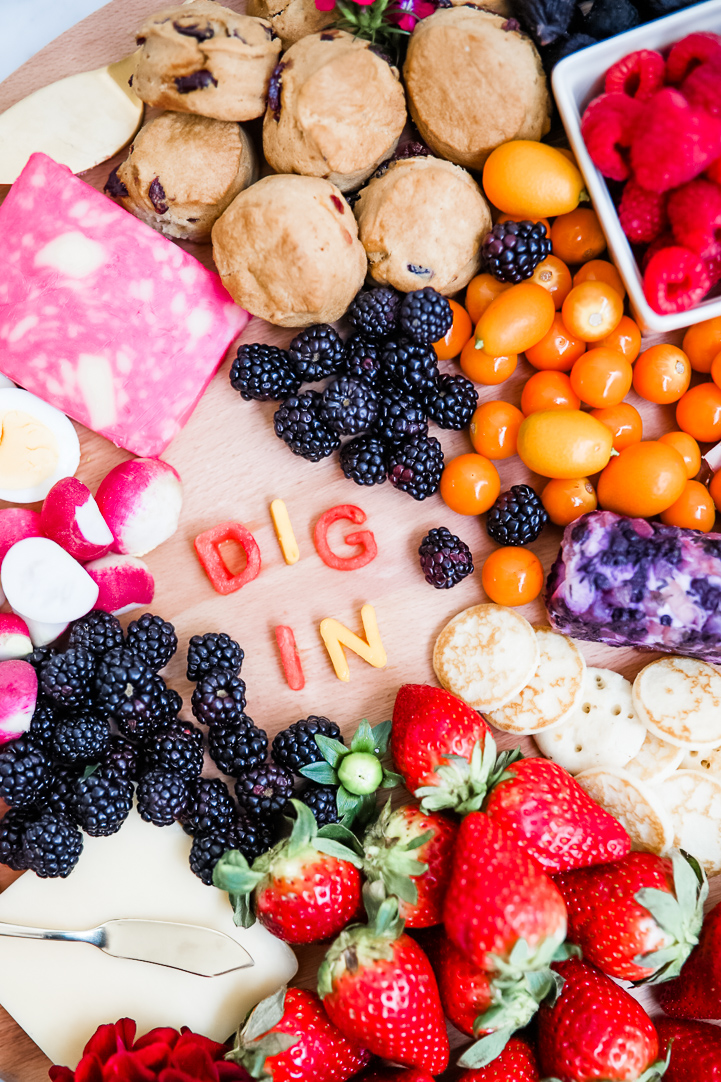
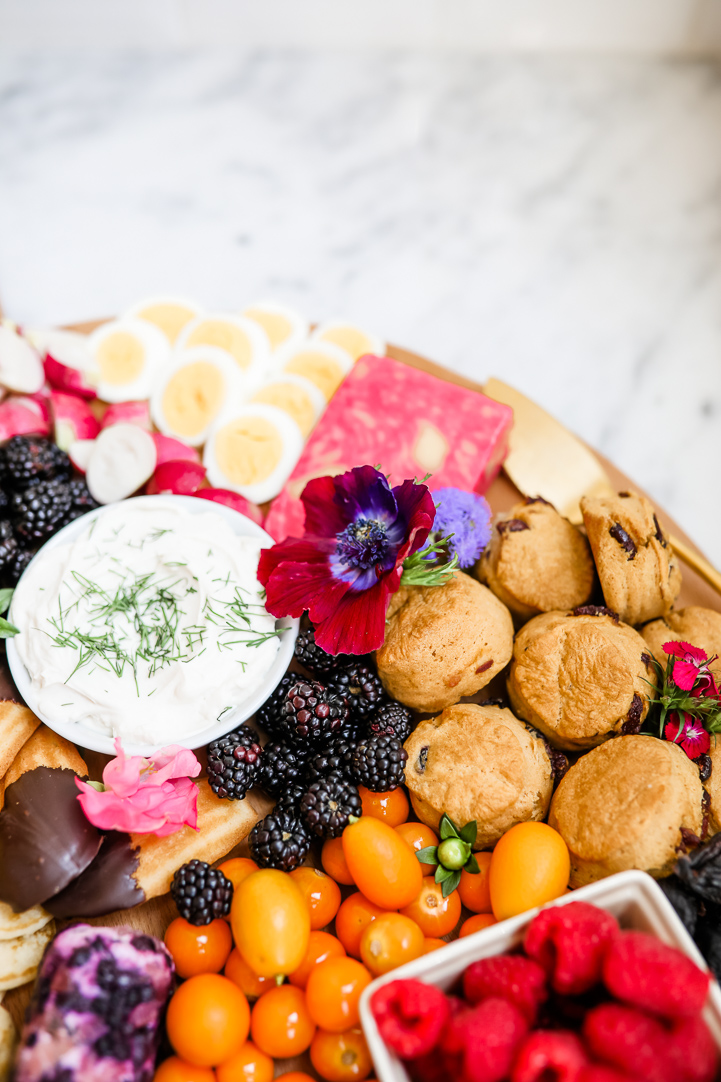
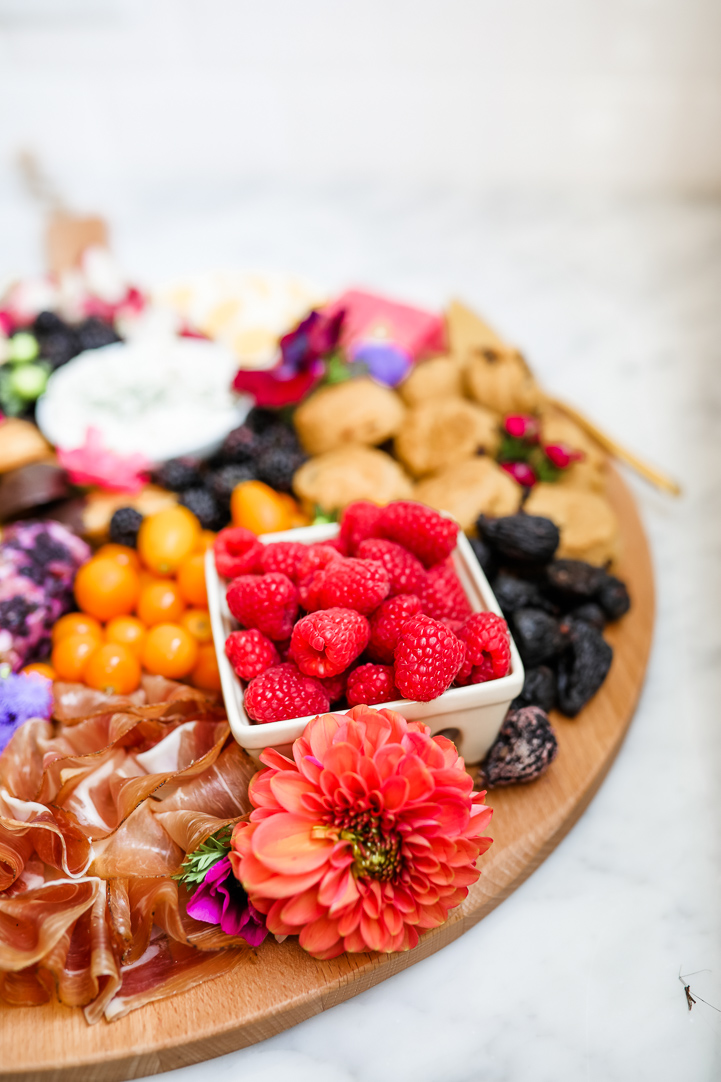
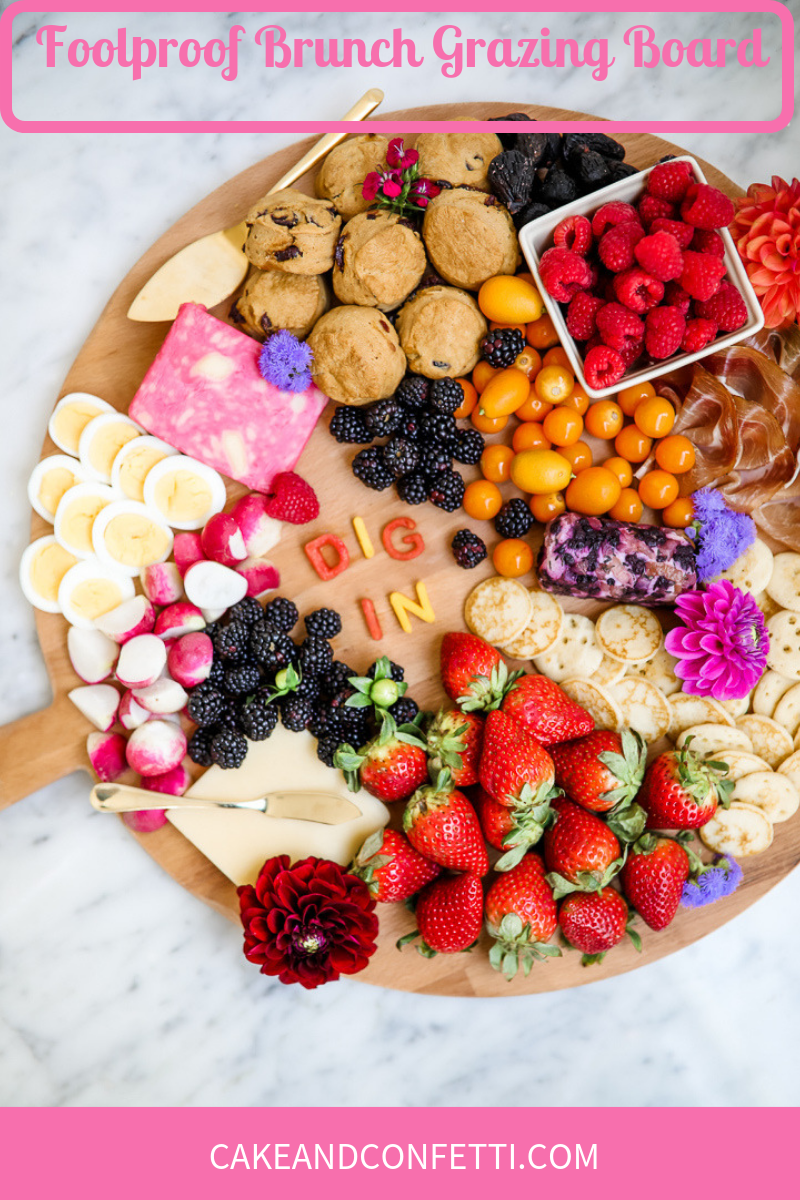
Marla and I created this fun brunch grazing board together and I think it’s the perfect alternative to a fancy sit down brunch. We have mini scones, silver dollar pancakes and chocolate dipped madelines from the grocery store bakery, a variety of fruit, boiled eggs, cured ham to go with the brunch theme, radishes for color, a few simple cheeses including goat cheese covered in blackberry preserves – yum! I love adding in a few flowers for a different pop of color and texture. After she created the stunning board (below) I decided to mix things up and use letter cutters to write a fun message with fruit. It was such an easy way to add a personalized touch! All the ingredients from both boards are from Central Market but you could easily recreate from Trader Joe’s or your local grocery store.
What Is A Grazing Platter?
A grazing platter, or board, is a fun and easy way to serve a variety of foods at brunch. The idea is simple: assemble a variety of items on a large plate or board and let your guests help themselves. This eliminates the need for multiple dishes and makes serving brunch a breeze.
What Goes On A Grazing Board?
The possibilities for a grazing platter are endless, but some of our favorites include:
- Fresh fruit and berries
- Sliced meats and cheeses
- Olives, nuts, and seeds
- Assorted breads and crackers
- Jam, honey, and other spreads
- Pickled vegetables or fruits
1. KEEP YOUR GRAZING BOARD COLORFUL
The easiest way to make sure your charcuterie board turns out bright and colorful is to pick a theme or a color palette before shopping. Then when are you making your grocery list, add a variety of foods that will brighten up your board. For example, nuts are great on charcuterie boards but they tend to be more browns/beiges colors, so by creating your list ahead of time, you can make sure that you are getting enough fun and colorful items.
2. GO WITH THE 80/20 RULE
Whenever I plan my boards you not only want them to look pretty but you also want them to fill up your guests and you want people to actually eat them! After all ingredients in charcuterie boards can get pricey and nothing is worse than an uneaten board at the end of a party. I always want my boards to be 80% healthy, items like vegetables (carrots, celery sticks, cucumber slices, cherry tomatoes, nuts, fruits, figs, other dried fruits, etc.) these are the types of items people are going to fill up eating so you don’t let anyone leave your party hungry.
3. A LITTLE BIT GOES A LONG WAY
When we first started designing grazing boards I would always overbuy ingredients! It is smart to pick out the size of the board you want to fill before you start shopping so you can keep that in mind and not overspend. Boards are really easy to fill up with vegetables, fruit slices, and cheeses to take up a lot of space so plan accordingly.
4. ADD A DIP TO YOUR GRAZING BOARD
Not only are dips great for all the veggies but they fill up the board and allow you to add flavors that work with any diet. One of the things I love about charcuterie boards is whether your guests are paleo, whole30, dairy free, etc you can build a board that will have something for everyone! My go-to dips are hummus, and then some type of greek yogurt dill dip!
5. NOW IT’S TIME FOR THE FUN STUFF
Once you have your board planned with all of the healthy (80%) ingredients now you can have some fun making your theme come to life! This is where you can add in candies, colorful cheeses and unique fruits that people might not be familiar with but will have a great time trying and talking about the items!
6. BE MINDFUL OF YOUR GRAZING BOARD COLORS
The last step is finally putting the board together. I like to keep everything in its packaging and create a board layout so I can easily move items around before I actually place them permanently on the board. This will help you make sure you have distributed the color evenly and if not you can easily change it around. You don’t want your board to have all the color on one side vs. the other. Keeping the color balanced throughout the board is what is going to really make your board amazing!
