How To Make A Diy Balloon Garland – Easy Tutorial
Published on October 5, 2018 | Last Updated on December 1, 2021
I am officially the boy who cried wolf when it comes to this balloon garland tutorial! I am sorry to keep so many of you waiting so long but life has been crazy the last couple months. I haven’t shared content as much as I’d like while I’m trying to figure out how many projects are too many with Piper. Trying to get into my new normal as been more difficult than I thought. But I’ll share more about that later and get to the good stuff! I’ll do my best to answer the questions you have but you can also leave a comment below and I’ll reply as quickly as possible. If you’re a visual person, you can watch a brief tutorial saved under the balloon highlight on Instagram.
MATERIALS NEEDED FOR YOUR DIY BALOON GARLAND
- Balloons in various sizes and colors: I usually go with a variety but most of them are 11”. Bargainballoons.com has a great selection..Honestly the best part about these balloon garlands is that you can’t screw them up! I recommend ordering 9”, 11’’, 16” and a few 36” big round balloons.
- Balloon Tape
- Balloon Pump – this will make your life WAAAAY easier!
- Fishing line or string to hang
- Command hooks, thumb tacks or secure to the wall. Or to make things easier, you can hang from existing furniture or nails, a stair banister, window treatments, etc. The balloons are only filled with air so they garland is almost weightless!
First things first, the materials. I use Qualatex balloons every time. I think they last the longest and are more durable. Plus they have a matte finish that I really like! But I’ve used balloons from every store that sells them so it just depends what is easiest for you. You can also buy on Amazon!
INSTRUCTIONS FOR YOUR DIY BALLOON GARLAND:
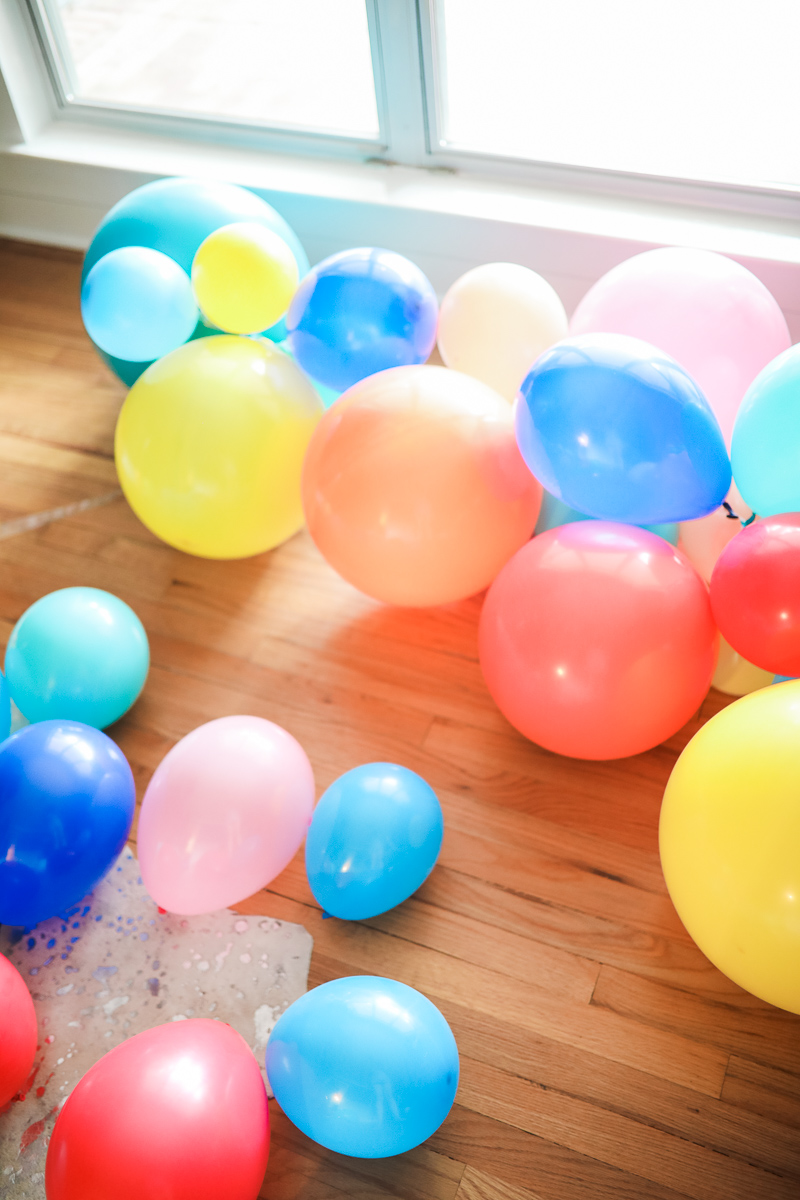
Blow up your balloons using the balloon pump. I like to alternate colors and sizes. You can start by inflating a dozen or so in the main color, then a handful in the other colors. You can see some examples below! Don’t worry about all the balloons being the same size, I love the variation.
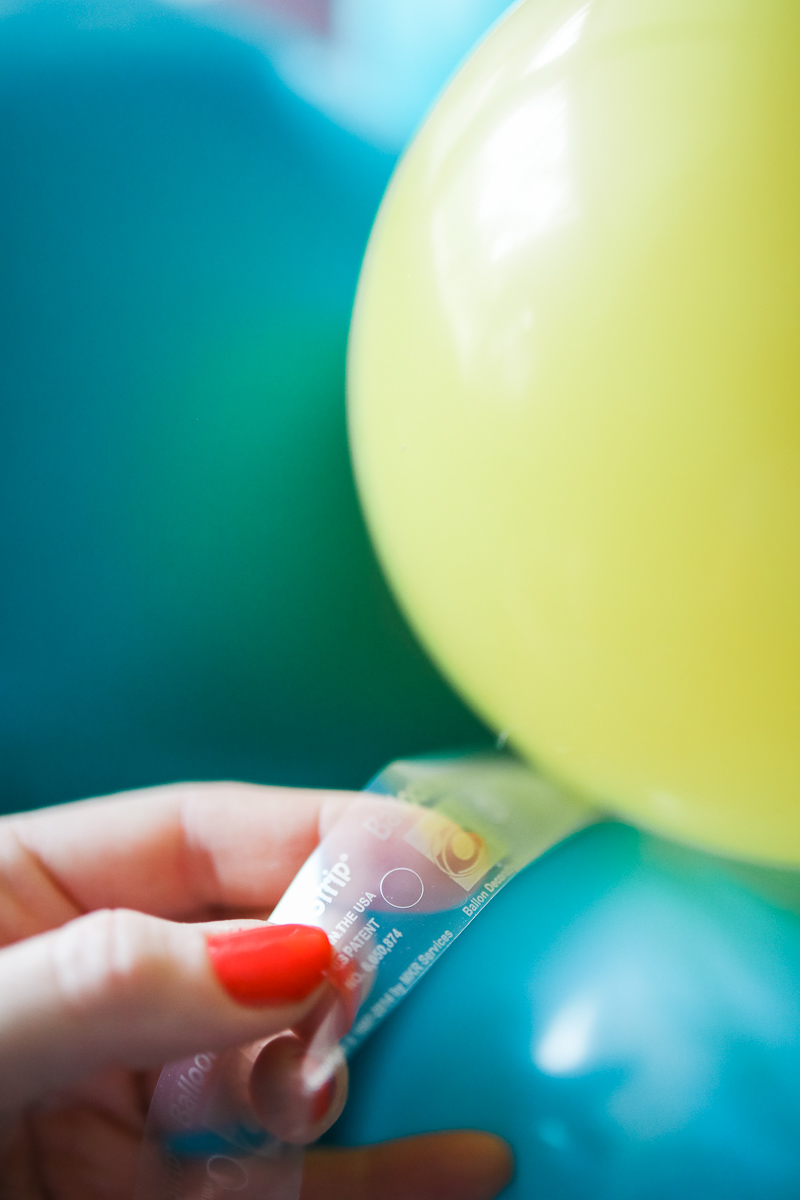
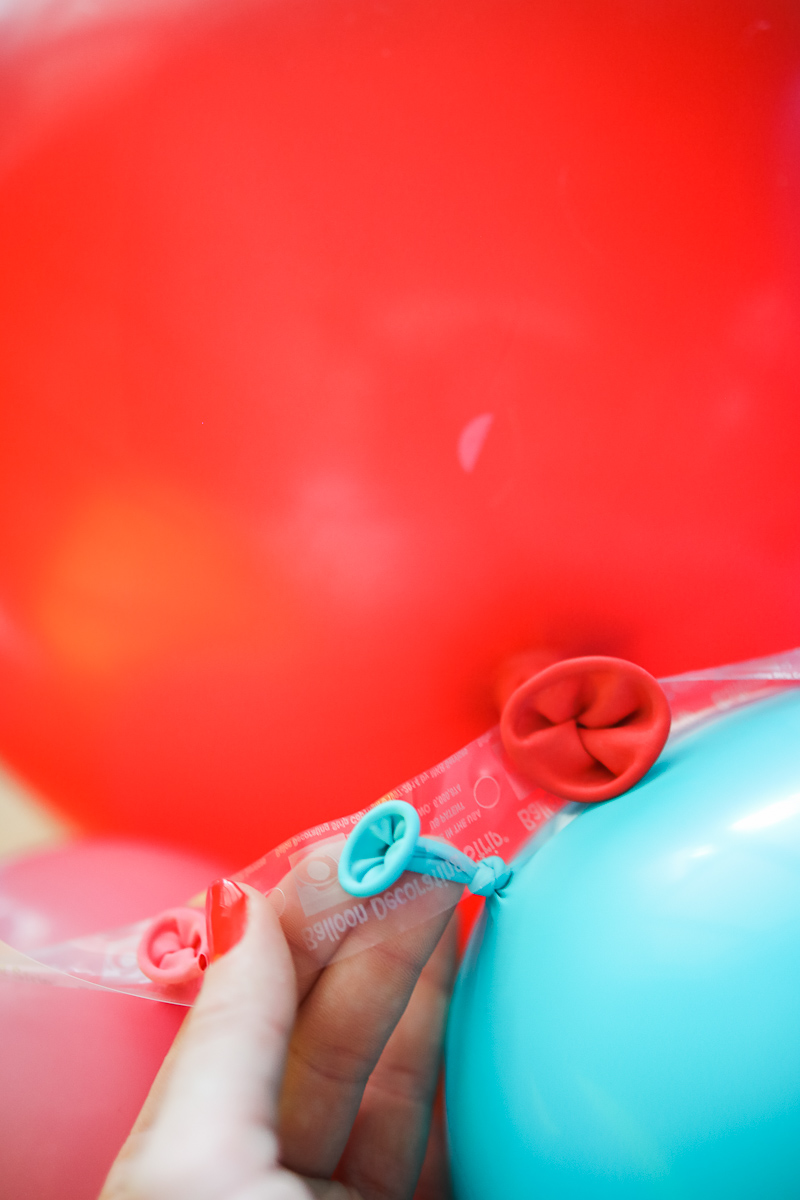
Take your tape and insert the balloons in every other hole. There are big holes and smaller holes, I use the smaller ones so it’s really secure. Add a balloon going up, and going down. The alternating helps give the balloon garland some motion. Don’t worry about alternating colors or anything. It might look a little weird at first but I promise once it’s 4-5 feet long it will start taking shape!
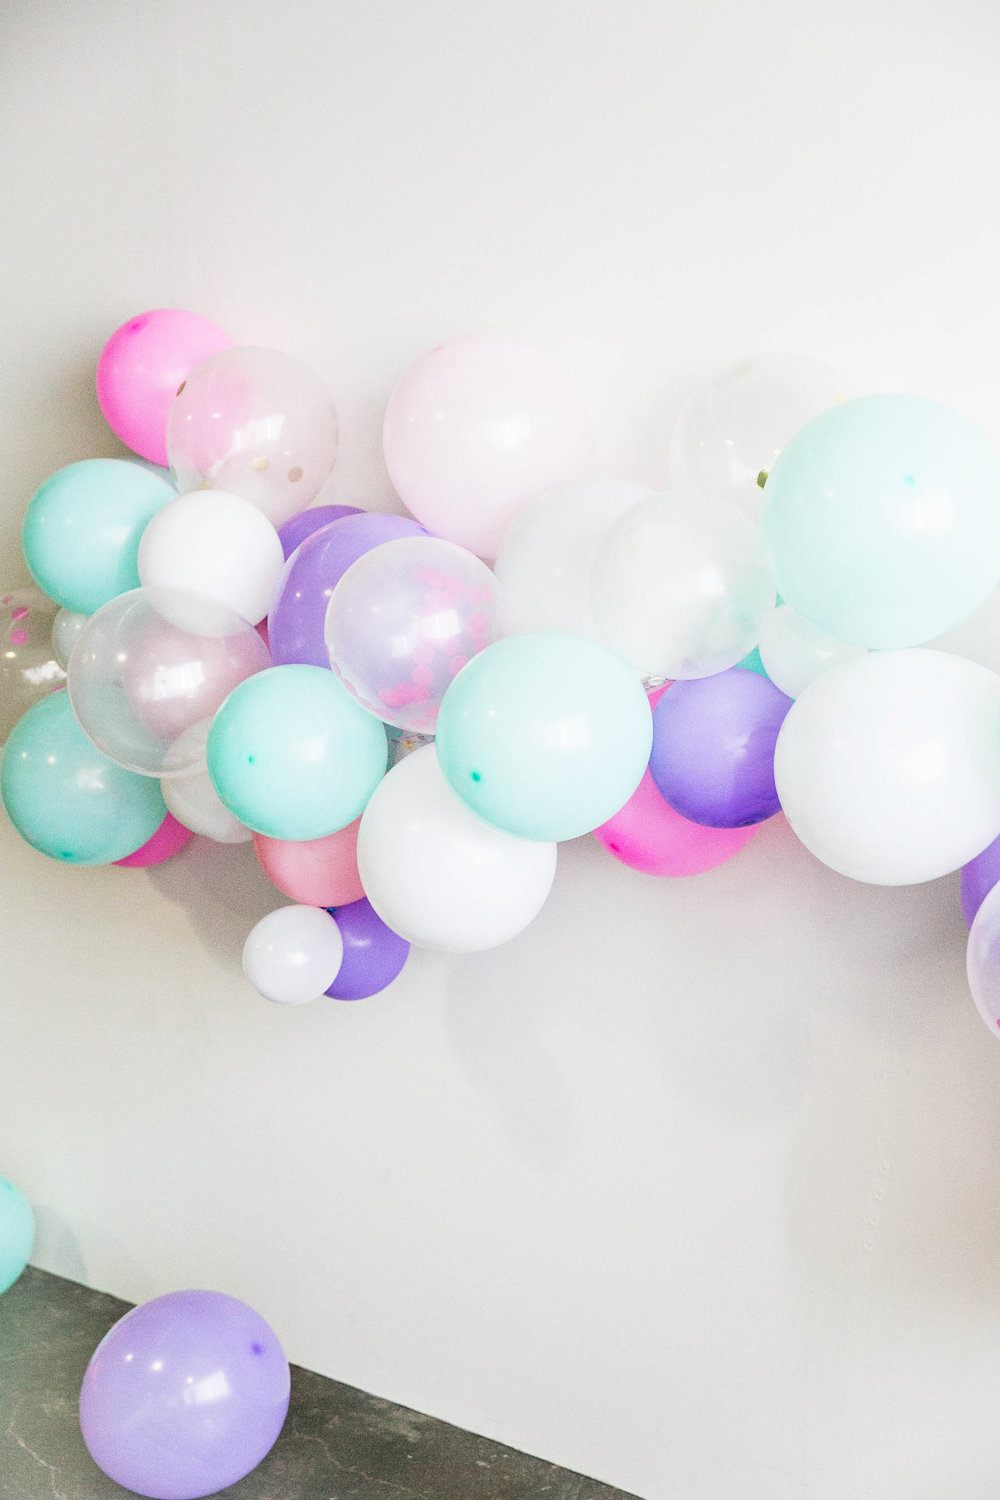
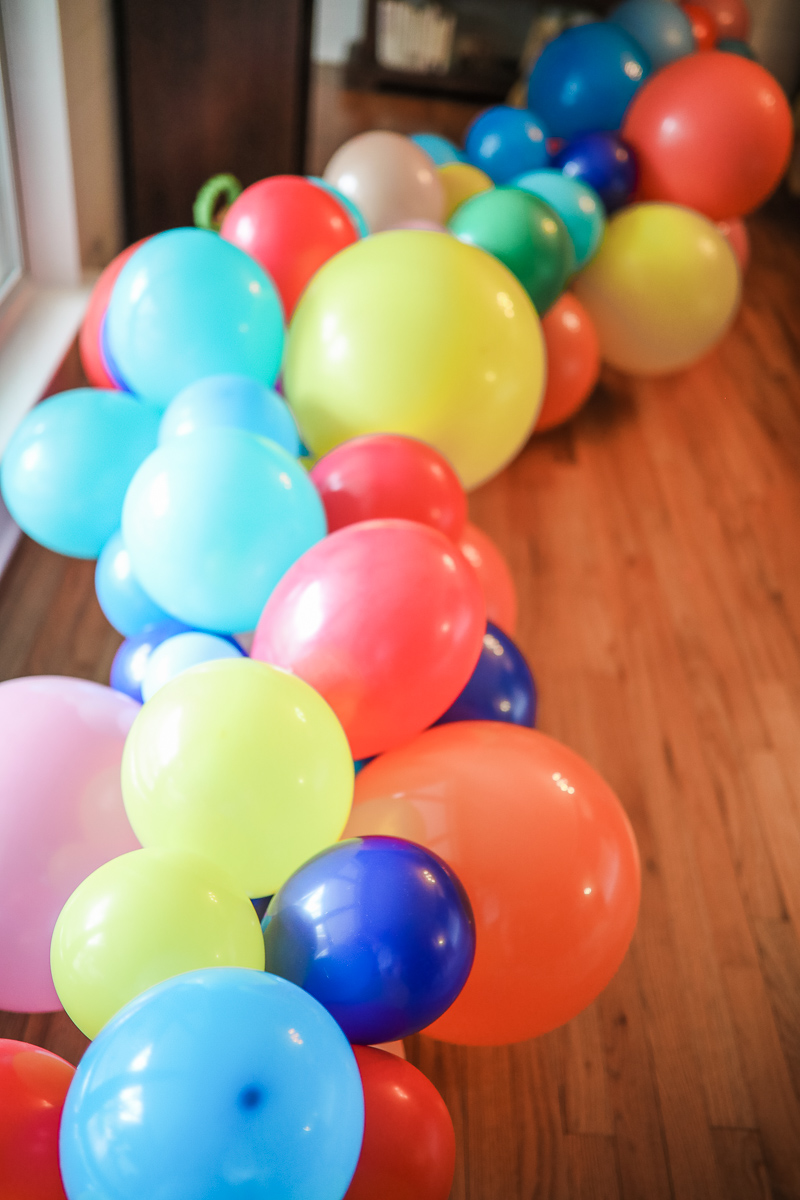
Ta-da! You have the ultimate balloon garland ready to go!
Color Combination Ideas for Balloon Garlands
Balloon garlands are a DIY project and can be made to fit any color combination. Here is a list of color combinations:
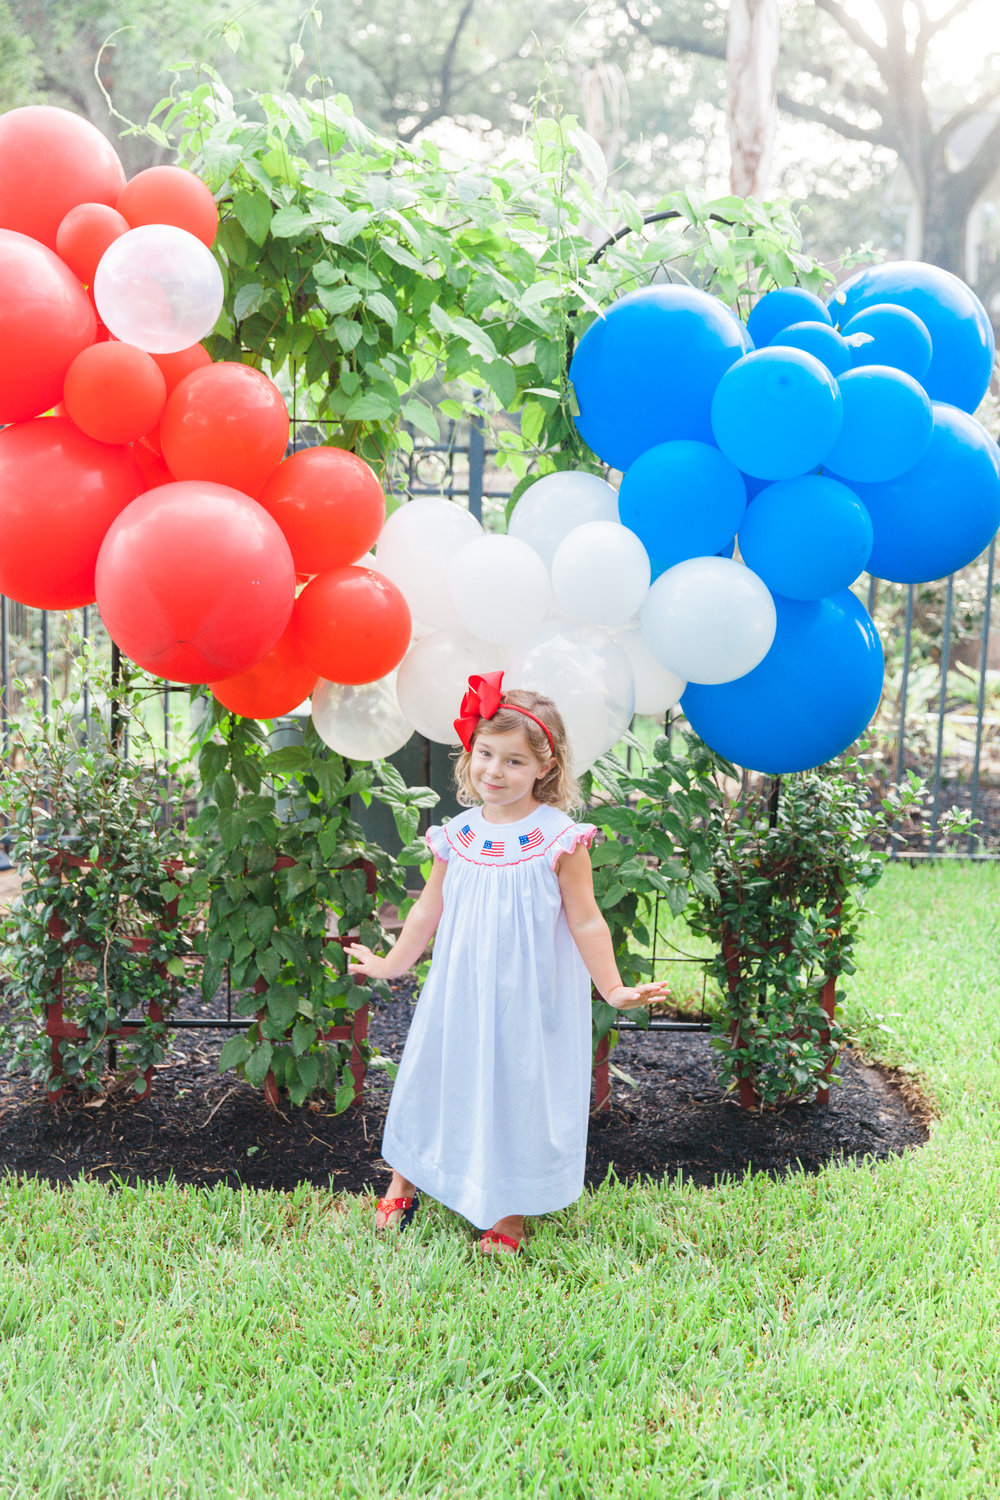
- Red, gold, and blue (for Memorial Day)
- Green and orange (for St. Patrick’s Day)
- White, silver, and pink ( for Easter)
- Black, white, and gold (for a casino party)
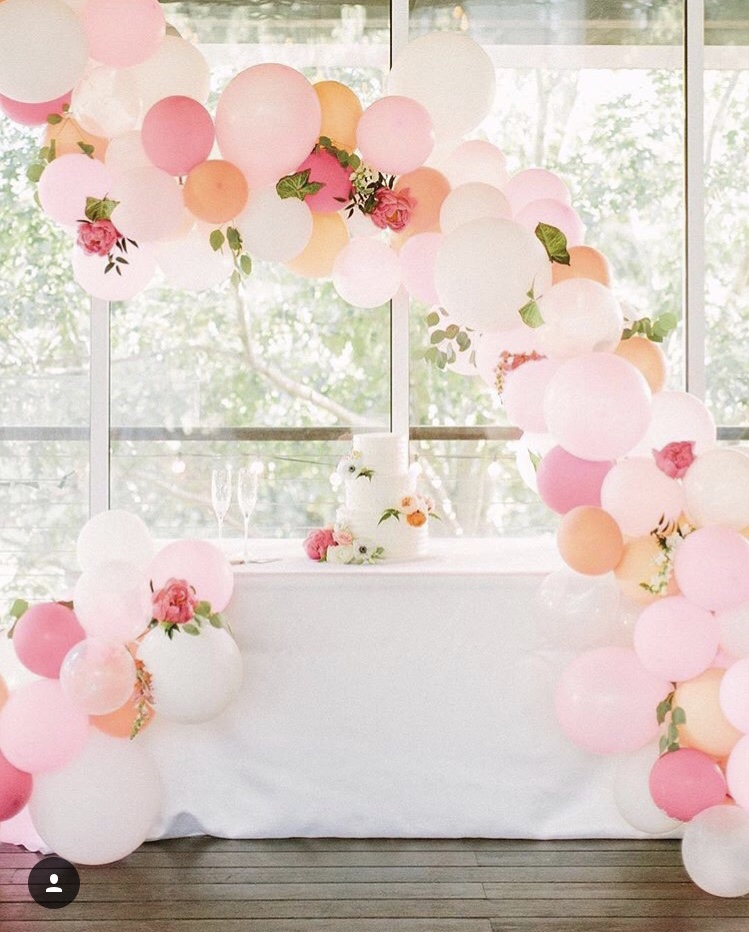
- Pink, peache, white, and gold( for a baby shower)
The easiest way to hang your balloon garland is to thread string or fishing line through one of the empty holes creating a large loop. Then hook the loop on a command hook, push pin or use tape. Once it’s secured in 2-3 places you can adjust some of the balloons to create more motion. I typically like all the giant round balloons towards the front to they can be seen.
UPDATED 10/9: I received some questions about how far in advance you can inflate the balloons. You can blow them up 1-2 days before and keep the garland indoors (the heat causes them to shrink) until your party. A lot of the balloons will stay inflated much longer but they will look the best this way!
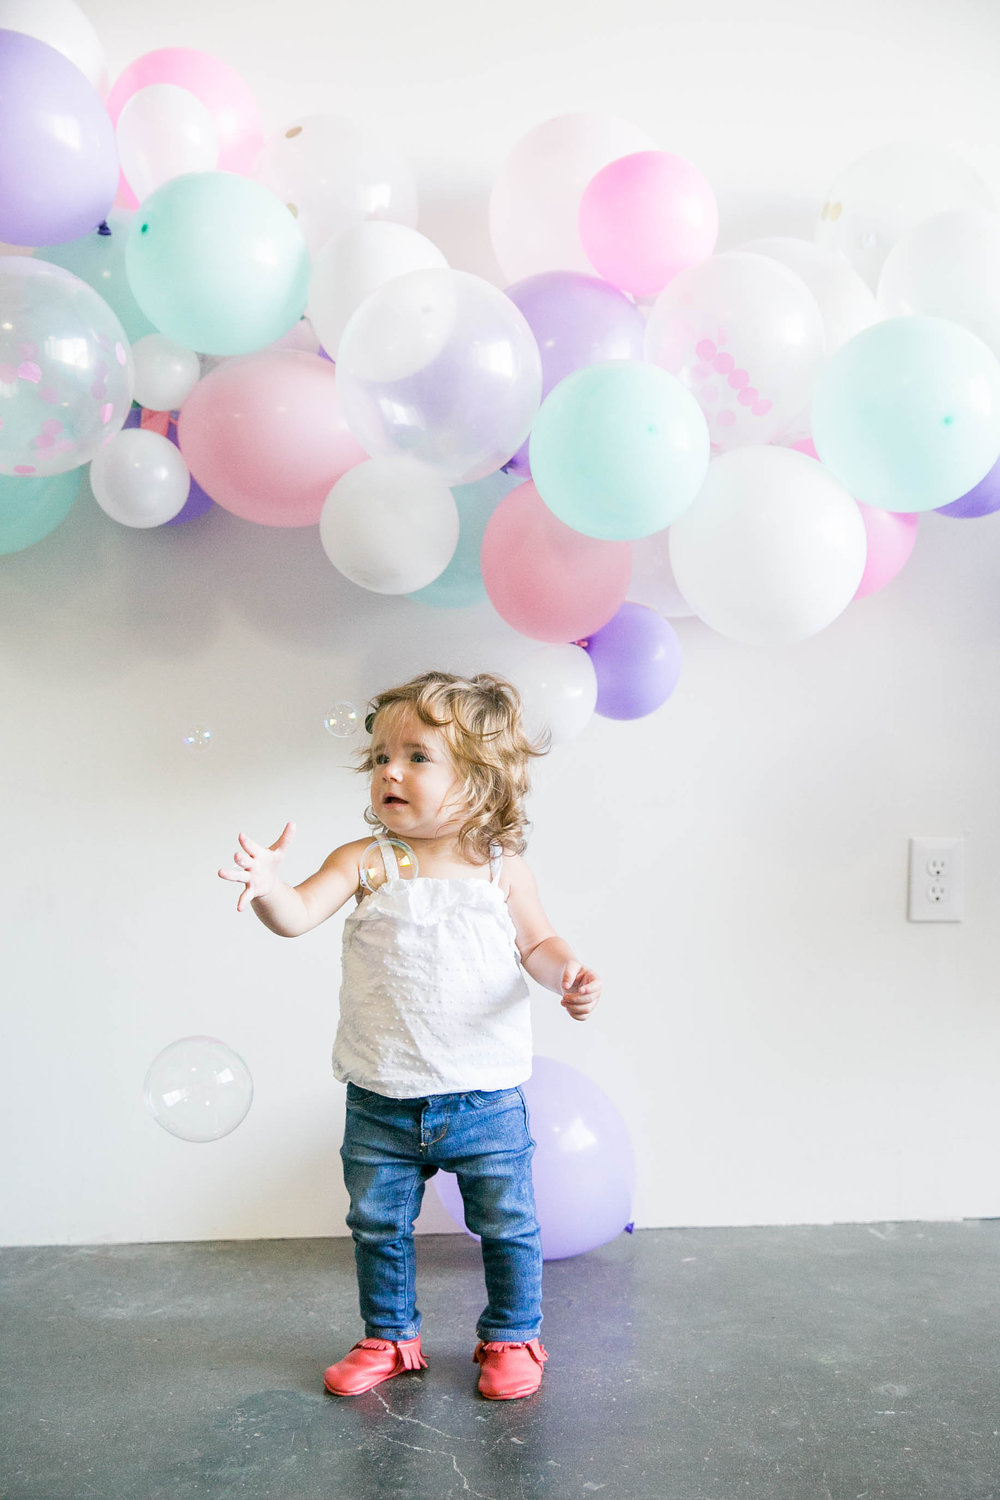
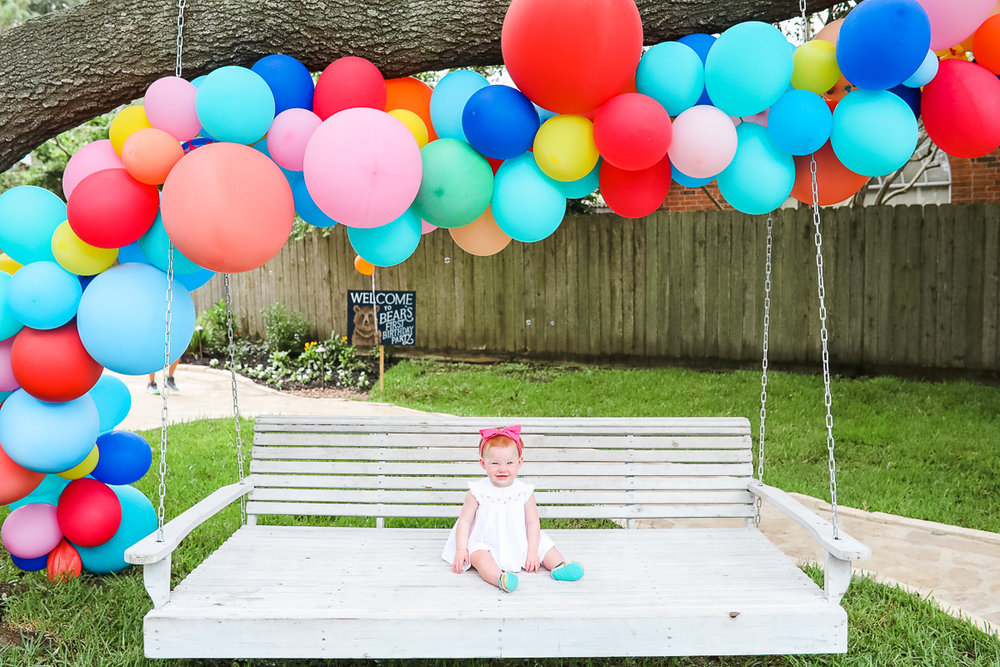
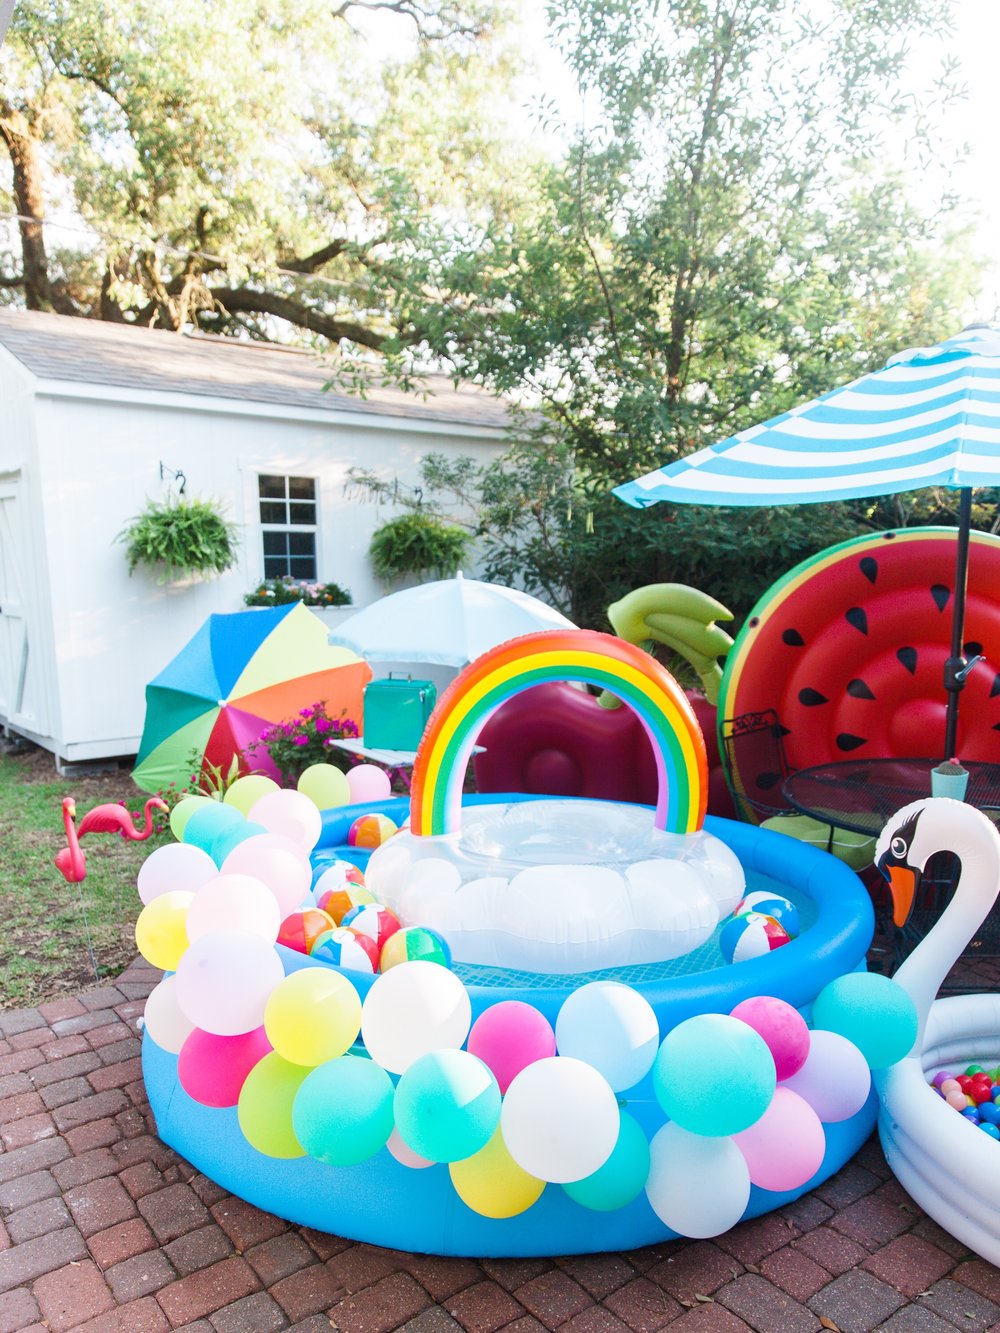
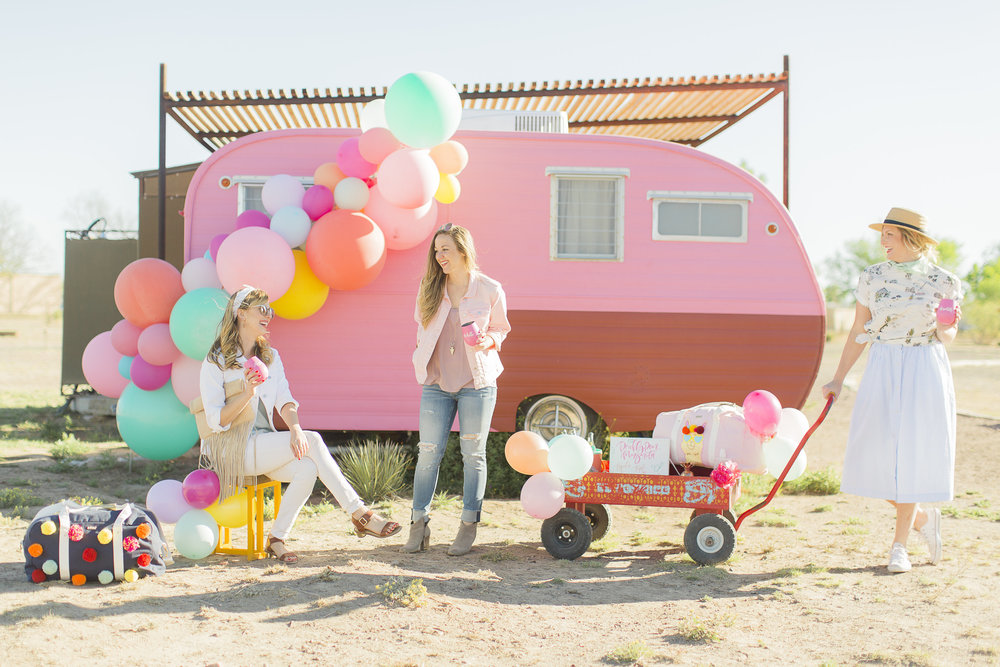
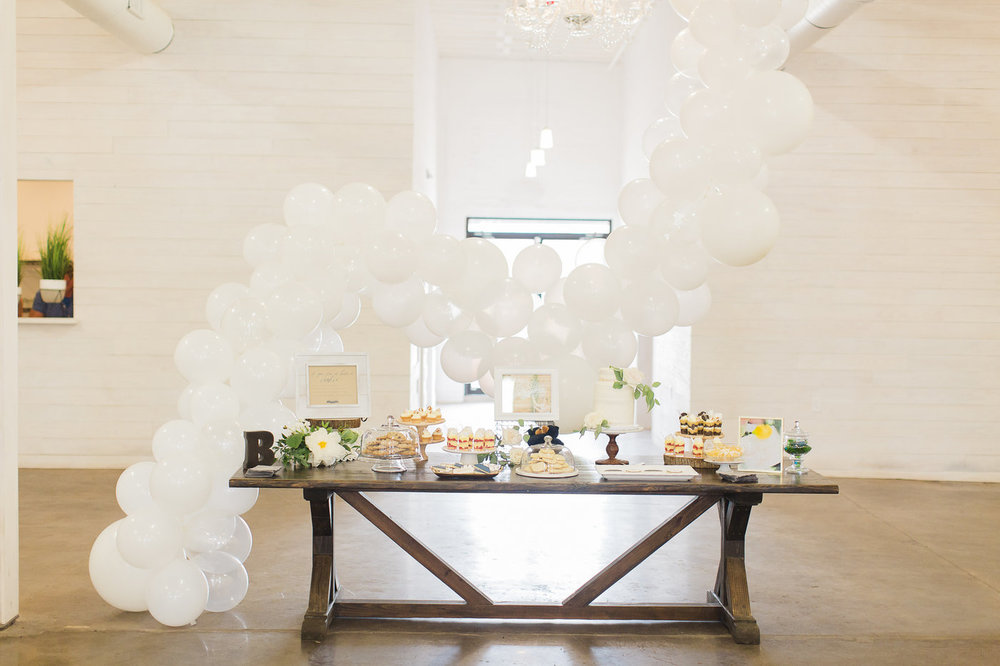
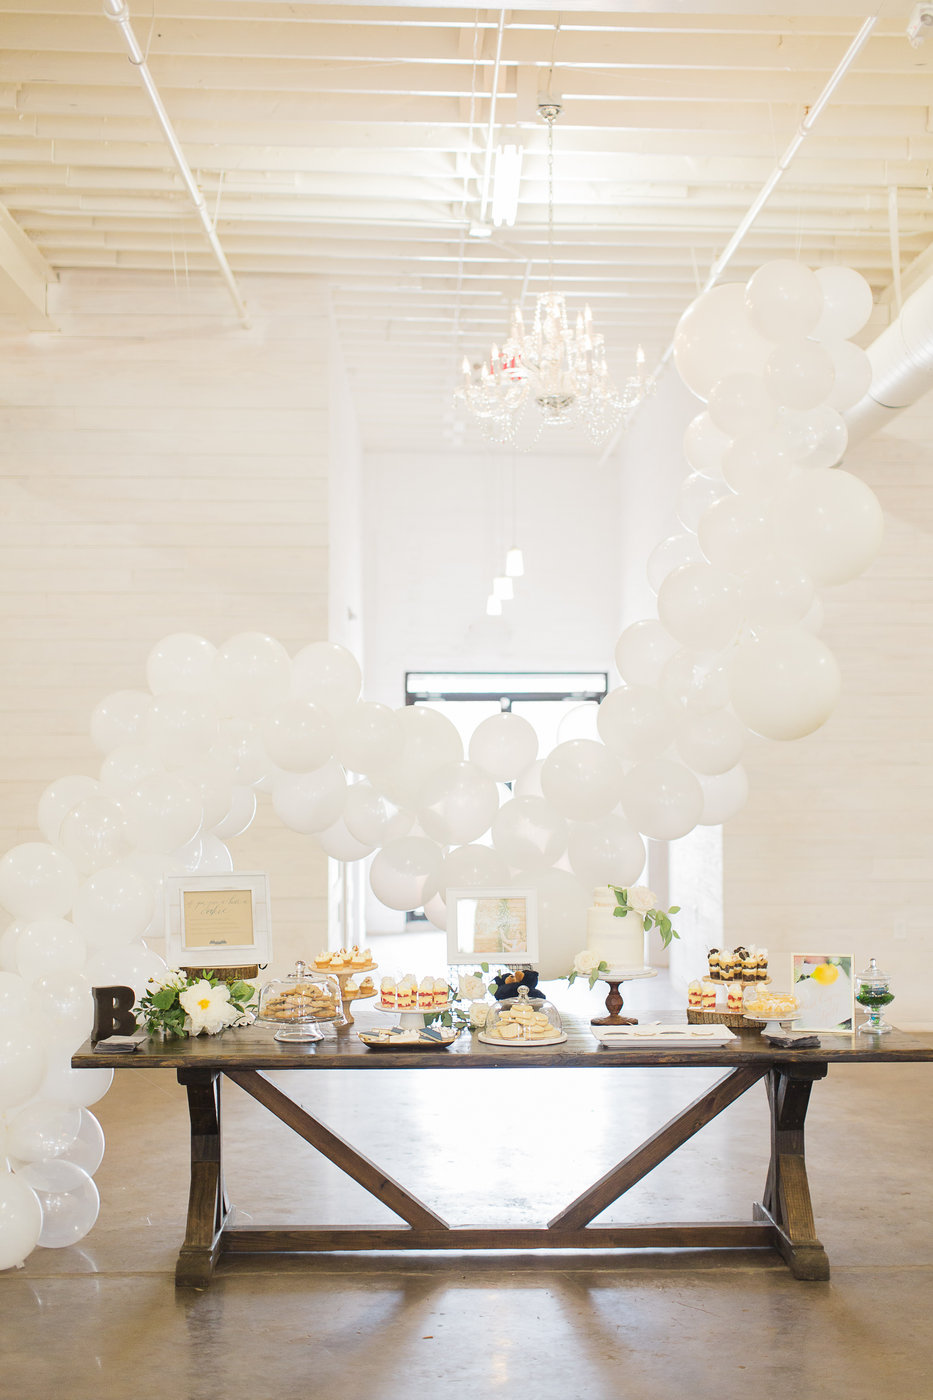
If you’re looking for inspiration, here are some of my favorite balloon garlands from the last couple years!


How Long Will A Balloon Garland Last?
A balloon garland can typically last several days if given care. It is best to store the garland flat in a cool, dry place; if it is not stored correctly balloons will pop.
How long a balloon garland will last depends on how many balloons are used and what color they are. For best results, it is also recommended that you make the garland at least 12″ longer than where it will be hung so that the ends can be weighted down. If the garland is too short then balloons will pop and the garland will fall.
Do You Need Helium For Balloon Arches?
Balloon garlands typically do not need helium in order to stay in place and look good. These types of balloon decorations can be made at home and will last several days when given care. Balloon arches are best for one-time use or short-term display but balloon garlands work great for both these situations and much more.